

Your Inbox, Handled
How to Set It Up
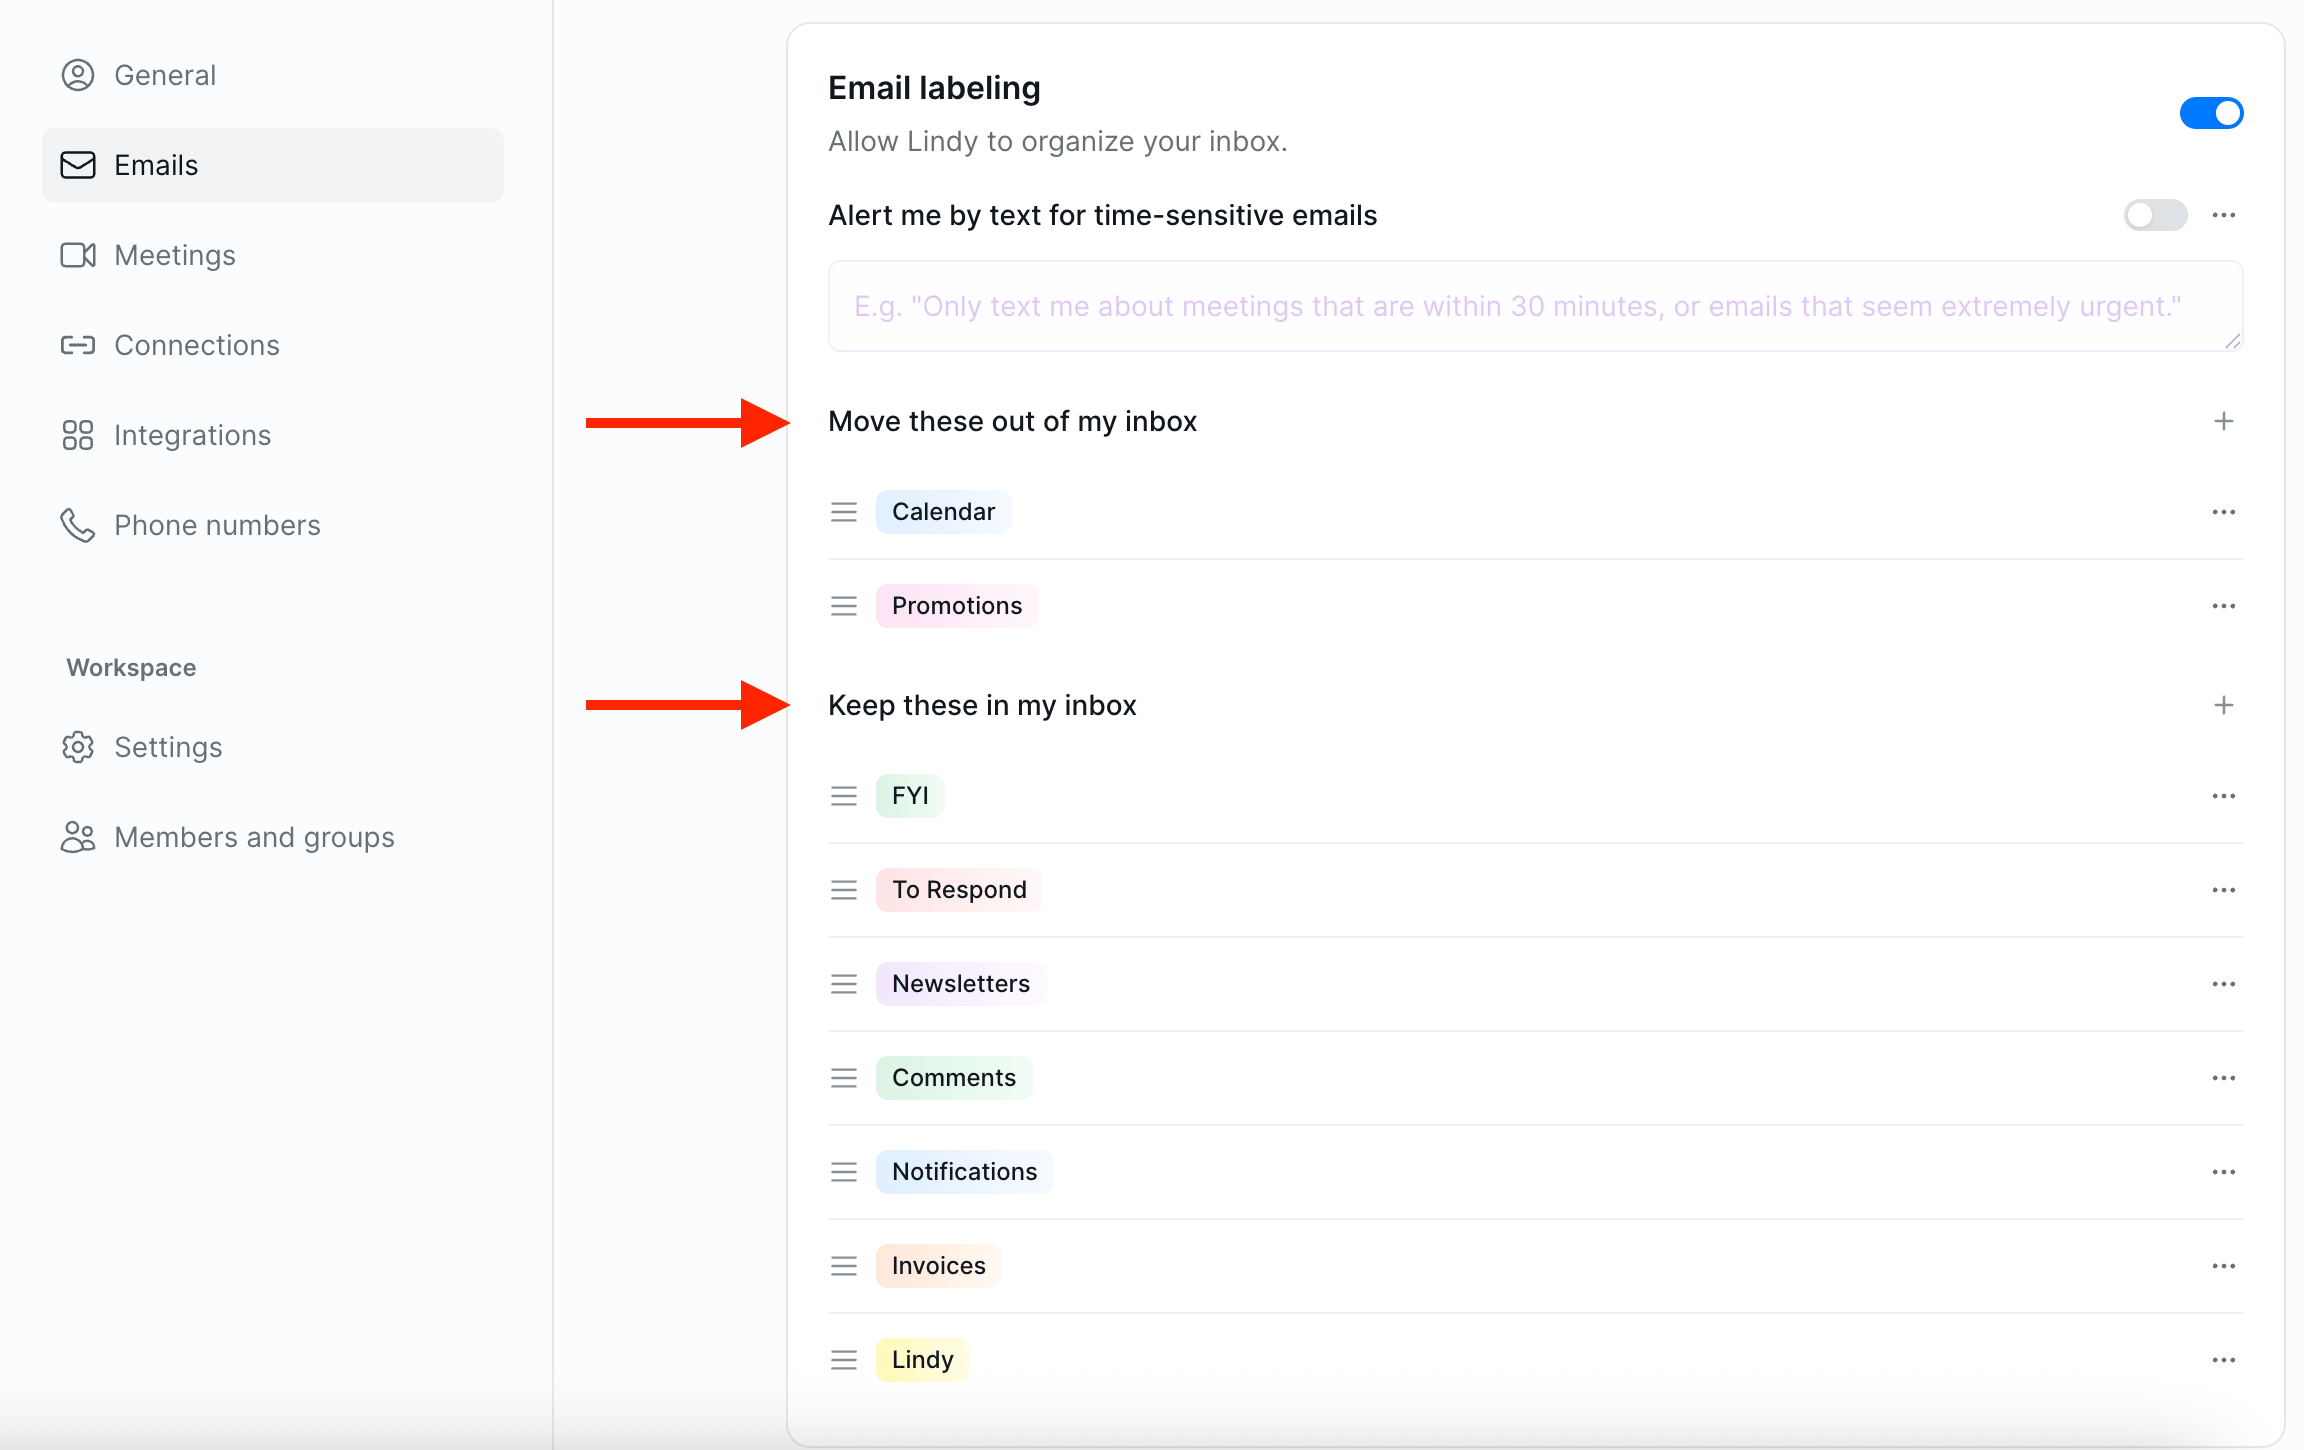
Open Lindy, click your workspace name in the top-left, and choose Settings. In the left sidebar, click Emails, then scroll to Email labeling.
Email Labeling
Lindy reads every incoming email and assigns it to the right category. Email labeling is on by default. You can adjust it anytime in your settings at chat.lindy.ai.Categories
Lindy sorts your email into two groups: Move out of your inbox: these get archived and labeled so they’re out of sight:- Calendar invites and updates
- Promotions and marketing emails
You can customize these categories: add new ones, remove existing ones, or reorder them to match how you work.
Adding a Label
1
Open the Email Labeling section
Navigate to the Email Labeling section in your settings at chat.lindy.ai.
2
Click the + button
Find the group where you want your new label to live, either Keep in your inbox or Move out of inbox, and click the + button next to it.
Labels in Move out of inbox will archive matching emails automatically.
3
Name your label and set instructions
Enter a label title, then write instructions describing which emails should receive this label.
Time-sensitive Email Alerts
Lindy can alert you when something urgent hits your inbox, so you catch it without watching your email. Turn on Time-sensitive email alerts, pick a Delivery channel for how Lindy reaches you (text message, Slack, or Lindy chat), and tell Lindy what counts as urgent.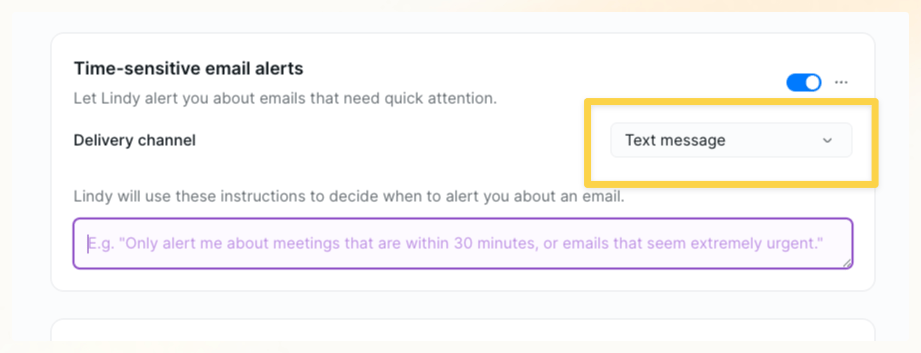
- Time-sensitive meetings: “Only alert me about meetings that are within 30 minutes, or emails that seem extremely urgent”
- VIP senders: “Alert me when I get an email from [VIP client name]”
- Specific threads: “Alert me if someone replies to the proposal thread”
Next Steps
Email Drafting
How Lindy drafts replies in your voice
iMessage & SMS
Get email alerts and respond via text